How To Start Meal Prepping Like a Pro
/
One of the most important tools that keeps our clients on track for our upcoming Beat Belly Bloat program is WEEKLY MEAL PREP!
Chris and I know firsthand how important meal prep is for staying on track with our personal health goals whether it be muscle building, weight loss or just avoiding inflammatory foods that cause belly bloat, brain fog, and a host of other health issues. We meal prep weekly and it has become a habit for us over the years!
Meal prep gives you complete control over the ingredients in your food!
During the first phase of the Beat Belly Bloat program, we eliminate some of the top allergens: soy, dairy, corn, gluten, eggs, and peanuts as well as other inflammatory foods like canola and soybean oil. This gives your body time to rest and de-bloat.
Once you have a clean slate, you can start re-introducing those foods back in one at a time to discover how your body reacts to each food, creating your flat belly blueprint.
The elimination diet is such a simple yet extremely POWERFUL tool that you can use to not only discover foods that don't work for you, but also help you to release body fat and inflammation.
It is a program that is used by functional medicine doctors all over the world to help clients regain their health and life. It's amazing!
Here are some of my favorite meal prepping tips that you can use whether you are in the program or just want to start implementing weekly meal prepping.

Time Saving Meal Prep Tips:
Plan Ahead. This is essential. Sitting down for a half hour over the weekend to plan out your weekly menu will save you time and money. Pick out 3-4 recipes for the week and make sure to read through them so you can figure out what ingredients you have on hand and the ones you need to buy.
Pre Prep in your free time. Look at your meal plan and recipes and see what can be done ahead of time, in the morning or on the weekend. Pre-soak, defrost, slow cook, pre-chop anything and everything. Chop a lot of garlic at once and keep stored in a sealed container to add to recipes throughout the week.
Use Kitchen Shears. Great for trimming herbs, cutting up or trimming fat off chicken breast, and quickly opening bags, these can be a major time saver in the kitchen.
Be productive while you cook! Cooking doesn't have to consume all your time. While food is cooking, turn on your favorite podcast, listen to an audiobook, do other household chores, check emails or watch your favorite Netflix show or YouTube channel.
Create your meal plan with food you already have on hand. Save time and money by working with what you have in your freezer, pantry and fridge already. Keeping your meals as simple as possible will save you time and can still taste super delicious!
Clean-up while you cook. As you cook, start soaking and washing dishes or load your dishwasher. Wipe up messes on the counter and put away anything that isn't being used. This way you don't get overwhelmed with a big clean up job at the very end.
Cook While You’re Cooking. Have the oven on already? Throw in a tray of kale to make kale chip snacks for the next day or roast your favorite vegetables such as yellow squash, zucchini, mushrooms, and onion - my faves!!
Take a few extra minutes to throw your complete meals into containers. Once all your cooking is done, throw your meals into little grab and go containers. This will save you tons of time during the week as you won't even need to think twice about making your lunch each day. Plus this also makes it easy to throw meals into the freezer if you don't get to eat them during the week.
Pre-prep and freeze your protein smoothie ingredients. Wash, trim and freeze your fruit or better yet, buy organic frozen fruit. Then place each days fruit smoothie portions plus your protein powder, seeds, greens, and any other ingredients you desire into individual jars or ziplock baggies to freeze. Each morning you can throw them into the blender, add almond or coconut milk, and GO!
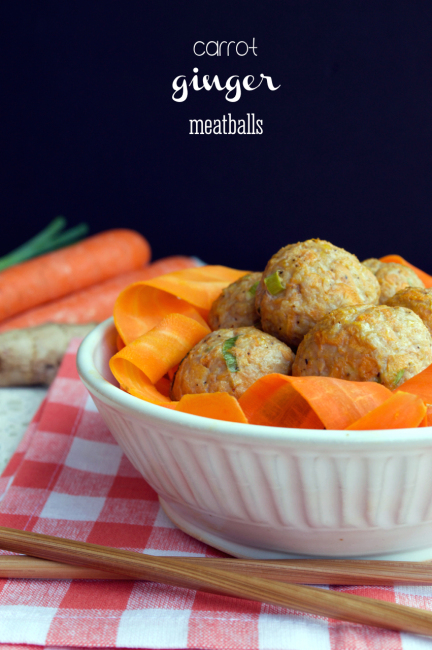
Pull out the crockpot for no fuss meals. You can make super easy meals overnight or while you are out for the day. Just chop up a bunch of veggies like onion, celery, and potatoes, add your protein of choice and seasonings, then let it cook on low for about 8 hours or on high for 3-4 hours. This will literally save you so much time and result in a delicious tasting meal. Try this easy crockpot beef stew recipe to get started!
Use parchment paper to help keep food from sticking to the pan or dish. Sometimes vegetables and meats will stick to pans when cooking and can create a real mess to clean up. Line your pans with unbleached parchment paper to prevent sticking and make clean up a breeze. It is also helpful to place parchment paper over the top of dishes, like baked chicken, while cooking to avoid splattering and to help lock in the juices.
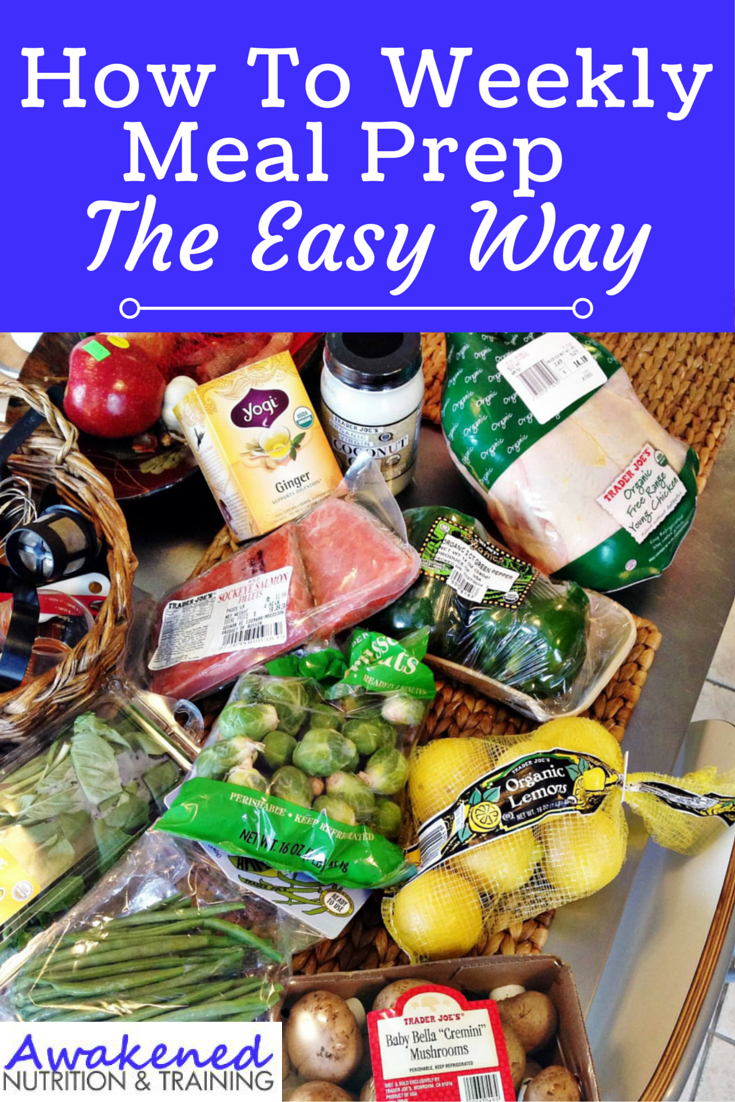
Find more meal prepping tips on big batch cooking here in this post How to Weekly Meal Prep The Easy Way

6 Easy Meal Prepping Tips To Live By:
Steaming, sautéing, roasting, grilling and baking are healthy, easy, and quick ways to cook food.
Keep it simple! Don’t allow what you don’t know make you feel overwhelmed. Combine a healthy protein, vegetables, grain or potato, and a healthy source of fat to create a balanced meal.
Eat foods that are easy to digest. My rule of thumb is to keep it to 5 ingredients or less. Simple ingredients mean more energy, less bloating, and more nourishment.
Try a few of the wonderful recipes in our meal plan. Remember, if you do not like a recipe then get creative and modify any recipe to your liking.
Adding salsa, hot sauce, coconut aminos, tahini, garlic, or other healthy condiments can make any food taste fabulous.
Prepare your meals in larger quantities so you can have leftovers and freeze portions for an easy grab and reheat option later.
You can prepare soups and freeze them.
Make a large batch of vegetables, protein, potatoes, and white or brown rice for the week.
Put together simple salads and have them ready to go in BPA-free plastic containers or glass Mason jars, with the dressing stored separately.

Learn How to Stop Bloat From Happening
Want to reduce inflammation and lose fat for good? Start by downloading our free guide: 5 Easy Steps to Beating Belly Bloat!
We are Chris and Amber, a husband and wife team dedicated to helping you improve your nutritional and personal fitness habits for a better lifestyle. If you have issues with bloating, inability to lose fat, brain fog, or are in need of a proven nutrition and fitness plan to get you out of a rut, then sign up for our 28-Day Beat Belly Bloat Program today!

Disclaimer: I earn a small commission if you use some of the highlighted links to purchase products mentioned in this blog/website. I recommend only products that I would use my own home or that I would recommend to clients.
Amazon Disclaimer: We are a participant in the Amazon Services LLC Associates Program, an affiliate advertising program designed to provide a means for us to earn fees by linking to Amazon.com and affiliated sites.